
It’s bitterly cold here in KC….9 degrees currently this afternoon but it was in the negatives when I woke up….waay too cold for this girl who loves sunshine! Since it’s been so dang cold that means I haven’t been redoing any furniture…boo. So since working in my garage during the KC winter isn’t an option, I’m really getting the itch for something creative. I figured I might as well catch up on sharing some of my projects that I still haven’t posted yet! Sometimes I get so busy that projects and pics just start to get buried…anyone relate? I STILL have yet to post my favorite piece ever, Emersyn’s dresser.
This project was SO simple. It may not be super exciting which is probably why I didn’t rush to blog about it, BUT I feel like it needs it’s own post because it will go to show you how EASY this project can be and how ANYONE can do it & really change the look of your space & for cheap! So bonuses all the way around right?
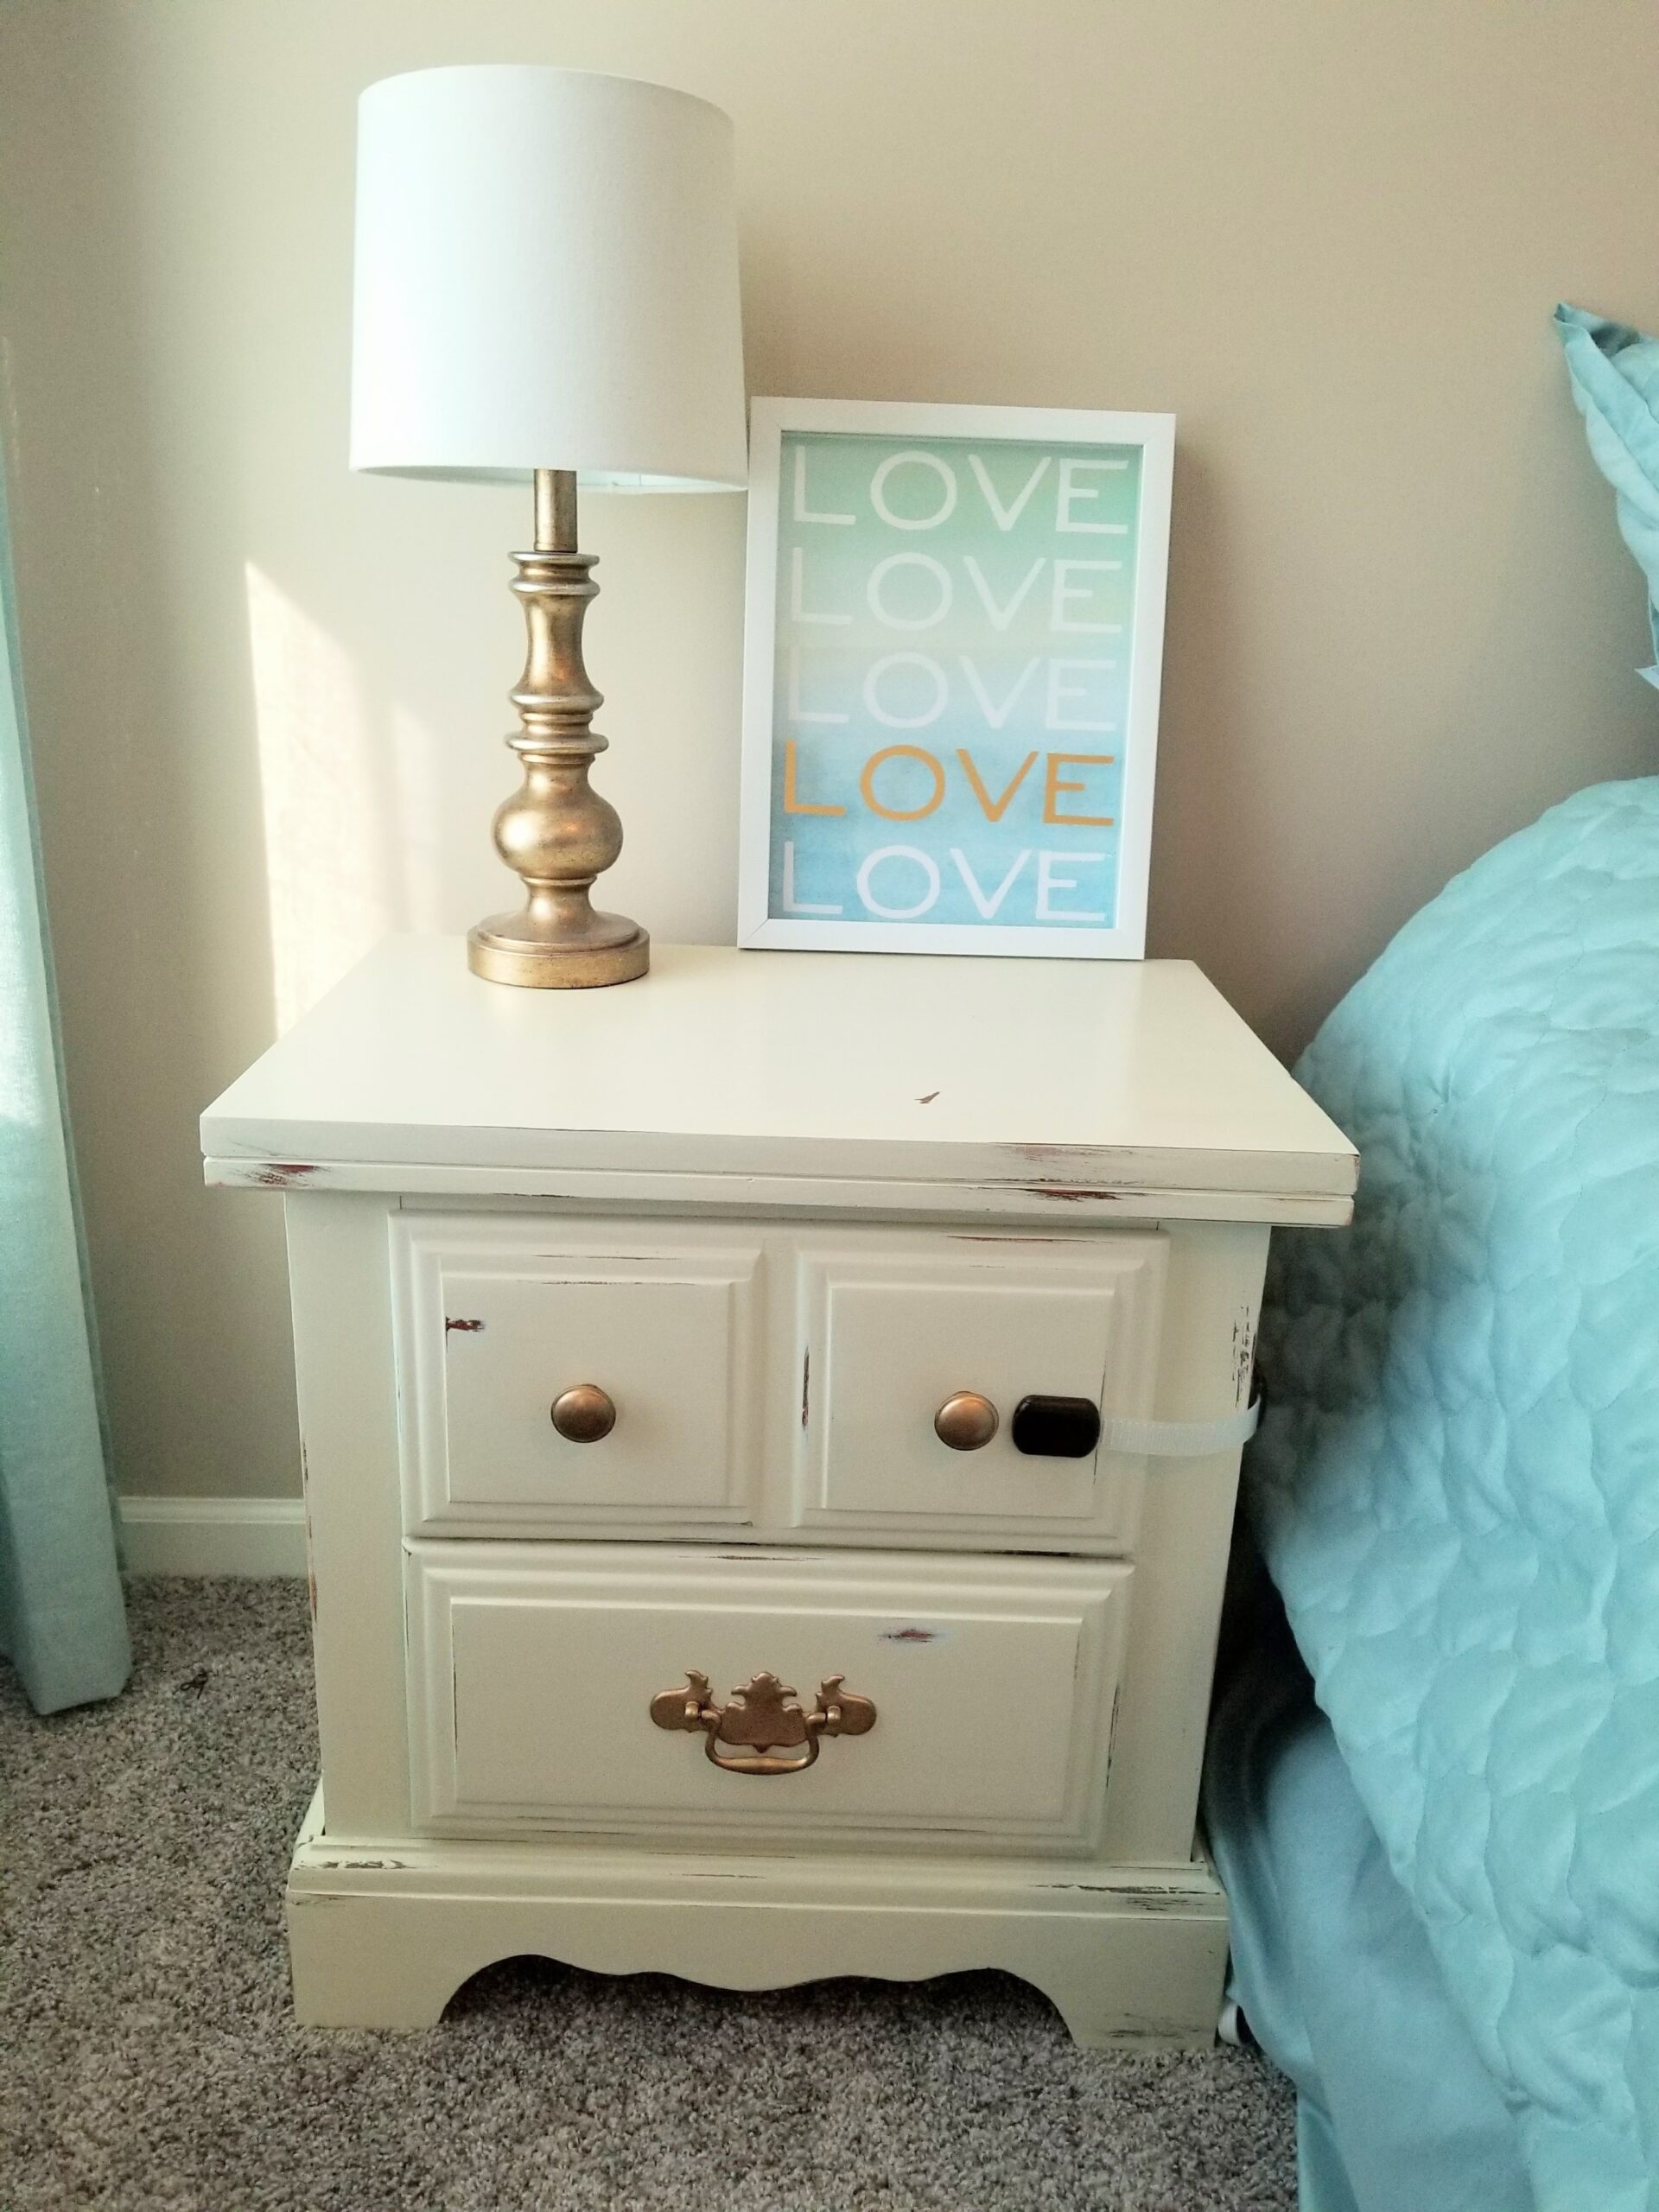
If you’ve been following my blog for awhile you will know that I love putting pieces of furniture in my house that you can’t just go out and buy in a store. I like the homey & original feel of a piece that I makeover, plus most of the time you can do it for SO MUCH CHEAPER THAN BUYING NEW! New house means brand new bedroom right?? I’m slowly making it home one thing at a time. My favorite part so far is my family gallery wall. We needed new nightstands for our bedroom and I started searching for new ones online & prices were just ridiculous. Plus I just couldn’t seem to find exactly what I wanted. So I turned to my trusty DIY skills… *yes that is a child safety lock on the top drawer of my side in case you were wondering! #momlife
*Note: This post contains affiliate links. These are links to items that I’ve used or suggest so that you may find them easier. It doesn’t cost you anything extra if you buy anything. I may make a very small percentage that I can use towards buying groceries & diapers & such so thank you for your support!
- FIND: Buy a used piece. I searched online on Craigslist, Facebook swap shops, local thrift stores, garage sales, etc. I found these 2 nightstand for under $20 for both! Or maybe you already have pieces at your house you just want to makeover!

Before pic… after I removed the hardware & some drawers. I always forget to take good before pics! But you get the idea… - PREP: Remove all the hardware (handles, knobs) and clean. I usually vacuum out any cobwebs underneath and take a Clorox wipe and give it a good wipe down..because other people….eww. Don’t skip this step, seriously even if something doesn’t look dirty it usually is! Plus you want to remove any dust so that your paint will stick better.
- PAINT: At this point you can go 1 of 2 directions: sand, prime and paint OR use chalk paint and skip the sanding and priming. I really like these brushes for painting! EASY: Buy a can of chalk paint in the color of your choice. I’ve used THIS brand from Lowe’s because there are SO many colors to choose from….look at them all HERE. I’ve done several projects in their chalk paint, including my shabby chic kitchen table makeover in the color of Trousseau Blue. (comparable to Annie Sloan Duck Egg Blue). Your project will take 1-3 coats of chalk paint. Chalk paint is EASY. No major odors, easy cleanup. I highly suggest chalk paint for beginners. It does cost a little more than regular latex paint FYI. You can even make it easier and get the chalky paint spray paint! If you are convinced this is the way for you to go then great! IF not, read on for the other route HARDER: I honestly can’t remember which direction I took with this particular piece because it was so long ago. But if you just use regular latex paint, you will want to sand with a fine grit sandpaper (220) just to rough it up a little then do 1 coat of white primer. Then after your primer is dry you would paint 1 to 2 coats with your latex paint. All these steps will ensure your paint sticks better. This method is more time consuming *The color I used was matched to Sherwin Williams Antique White*

In the process of painting… - DISTRESS:(optional) IF you want this look just use some fine (220) grit sandpaper and gently sand off random spots where some distress would be (typically on the edges and corners.) If you want a nice clean look then skip this step.
- SEAL: You want to protect your furniture. When sealing and picking out what type of sealer to use think about use of your piece of furniture. Does it just sit and look pretty? Then a wax sealer over the chalk paint will do fine. Is it a piece that will get used frequently like a nightstand with water cups, books, etc put on top of it? If so I would suggest wax for the base of your piece and a polyacrylic sealer on the top. This sealer will protect it from spills etc and comes in different finishes such as satin, glossy etc. A few thin coats and you are all set!

Spray painting the nightstand handles - HARDWARE: spray paint your hardware, this can REALLY change the look of a piece! Make sure you clean your hardware first to remove all dirt then spray outside or in an open ventilated area, thin coats. I use this brand for all my hardware. Once dry, put your hardware back on for the final finishing touch

Shop my lamps below:


We’ve really enjoyed our nightstands & my husband even drilled a hole in the back near the bottom drawer so we could hide cords and keep our little munchkin safer. We are one step closer to completing our bedroom, still more to go. Have you redone a piece in your bedroom? I hope this gives you the encouragement to go for it!


Leave a Reply